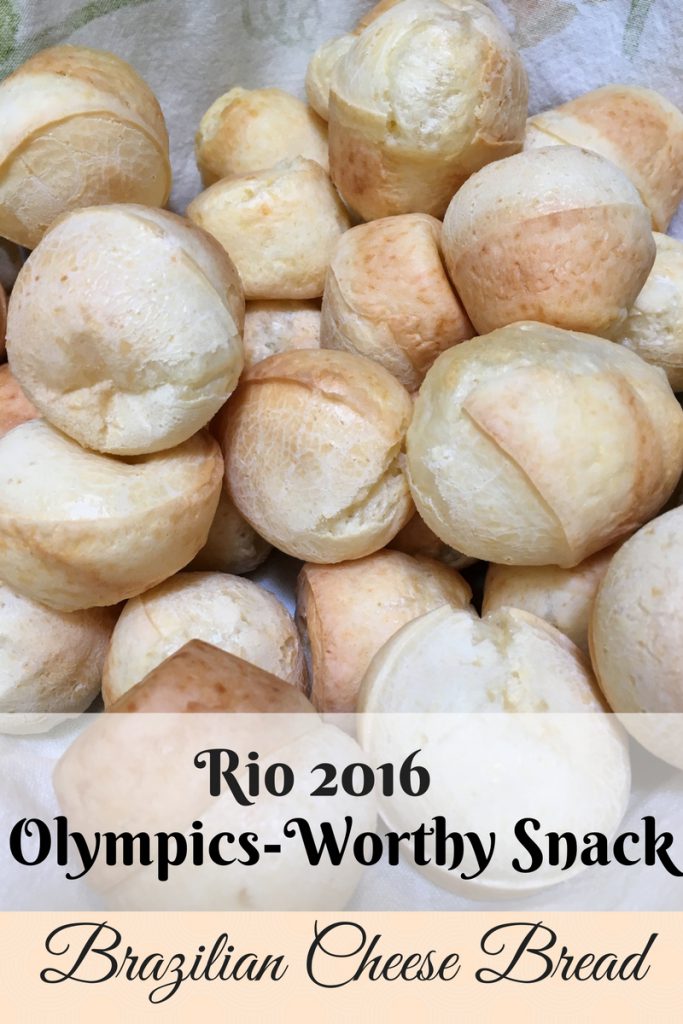
An Olympics-Worthy Snack for Rio 2016

The Rio 2016 Olympics start tonight, so we all need an Olympics-worthy snack to enjoy as the games begin! I grew up watching the Olympics, and I still look forward to the games every two years. From the pomp and pageantry of the opening ceremonies to the proud moments watching our athletes stand on the medal podium, I find myself riveted to the TV. So, of course, all this TV watching requires a good snack. (Click the link for the the full Rio 2016 Olympics viewing schedule.)
Why is Brazilian Cheese Bread Olympics-Worthy?
In honor of the Olympics being in Rio de Janiero (and because I’m using a new recipe plugin now), I thought it was worth re-visiting my Brazilian Cheese Bread recipe. After all, the Olympics are in Brazil, and at least in my world, you can’t have too much Brazilian Cheese Bread!
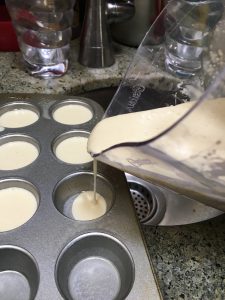
The best part about Brazilian Cheese Bread – or cheesy bread as the kids call it – is that it’s actually healthy and easy to make. All the ingredients get thrown together in the blender, whirred around until you have a smooth batter, then poured into mini muffin tins. That means you only have one appliance to clean – awesome!

Pour the batter into well-greased mini muffin tins
These little bites are also gluten free since they use tapioca flour rather than regular wheat-based flour. This makes them light and fluffy as well. You pick the cheese depending on what flavor you like. The kids love cheddar, so that’s what I usually stick to, but I’ve made them with gruyere, mozzarella & parmesan, and a Mexican cheese blend. They’re all fantastic.
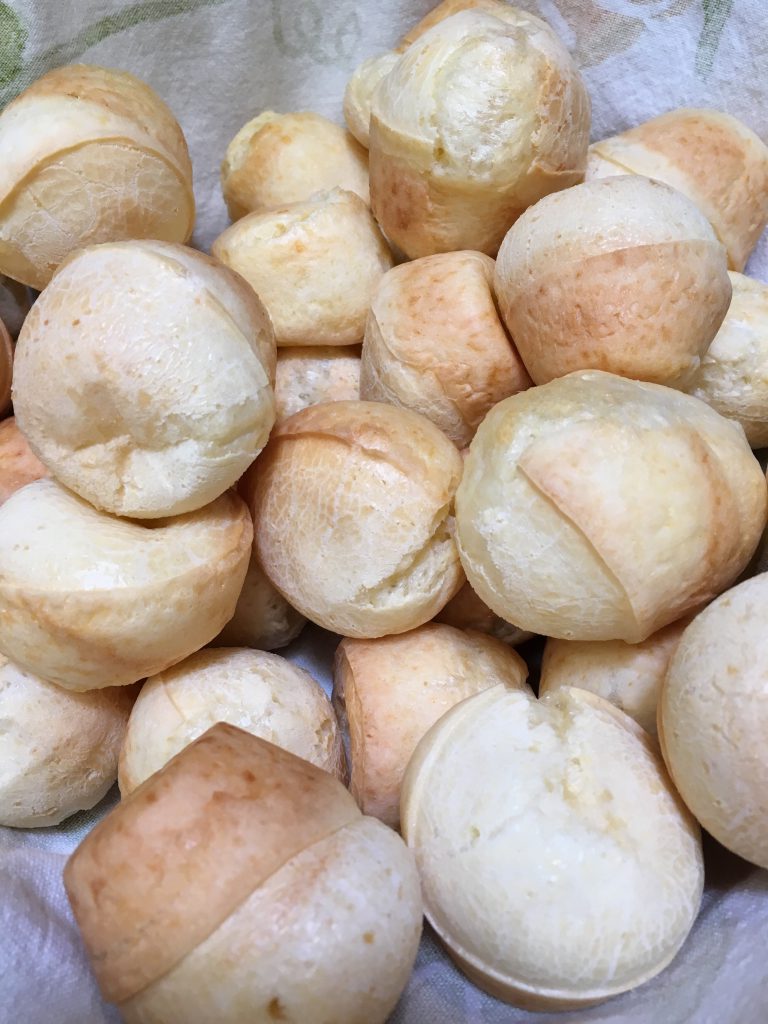
The bread comes out a cute little puff that’s a little crispy on the outside with a rich, chewy center. The texture is both light and satisfying, cheesy and bread-y (is that a word? It is now!). They’re the perfect Olympics-worthy snack food, especially for some serious Olympics watching. Just be careful, because it’s super easy to eat one after another after another until they’re gone. Oh, what the heck, go ahead – there’s nothing bad in them, so eat to your heart’s content! I bet even some of the Rio 2016 athletes would include these little morsels on their menus.
Okay, What’s In It?
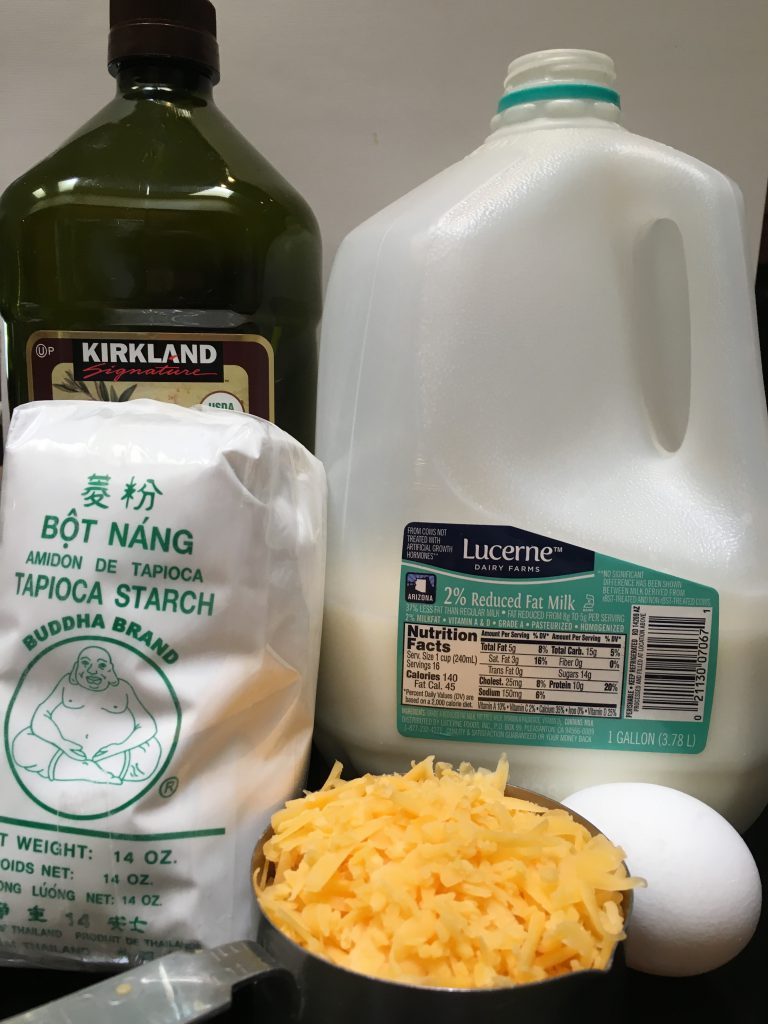
Cheese, olive oil, milk, egg, a little salt and tapioca flour. If you don’t have tapioca flour – also known as tapioca starch – in your pantry, no worries. It’s easy to find. Most grocery stores will have it in the same aisle with the regular flour. Just look for it with the other packages of “specialty” items like oat bran, almond flour, rice flour and the like. Bob’s Red Mill is a popular brand that most grocery chains carry now.

Tapioca Flour (starch) from the Chinese store along with the other ingredients
If you happen to have an Asian market nearby, go there for your tapioca flour. I usually buy several packages on my runs to the Chinese grocery store since I can score each package for around 89 cents.
If you’re dairy-free, I’m afraid I haven’t tried any substitutions with this recipe. This is one I follow to the letter with no alterations. Not because I don’t like to experiment, but because this recipe works. It’s just right. Every time. If you do try any substitutes, let me know. I’d love to hear how they work!
Are You Ready to Try These?
Okay, I won’t keep you waiting any longer. Here’s the recipe!
- Preheat oven to 400 degrees F.
- Grease or spray mini muffin tin(s) - 1 large or 2 small.
- Put all ingredients into blender & blend until smooth, scraping down sides as necessary.
- Pour batter into muffin pans so each cup is nearly full.
- Bake 15-20 minutes or until puffed and lightly golden brown.
- Let cool in pans for a few minutes, then remove and serve.
- Enjoy!

