Everything’s Better with Homemade Butter

Making homemade butter (Photo credit: Sapna Tharani on Flickr)
Does the idea of making homemade butter conjure up images, like the one above, of hours of backbreaking work using some sort of old-fashioned butter churn?
Fear not, good readers! Making butter at home is much easier than I could have ever imagined. You’ll only need two ingredients and about 10-15 minutes in the kitchen.
Here’s How You Do It
I followed the simple directions (and sound advice) from Montana Homesteader, but there are a ton of ideas and tutorials available online. Search Pinterest for “homemade butter” and you’ll see what I mean.
I chose the food processor method, and it couldn’t be simpler.
Step 1: Get out your food processor
Step 2: Pour in heavy cream (I used 1 pint, but use any quantity you like)
Step 3: Turn on food processor & let it go!
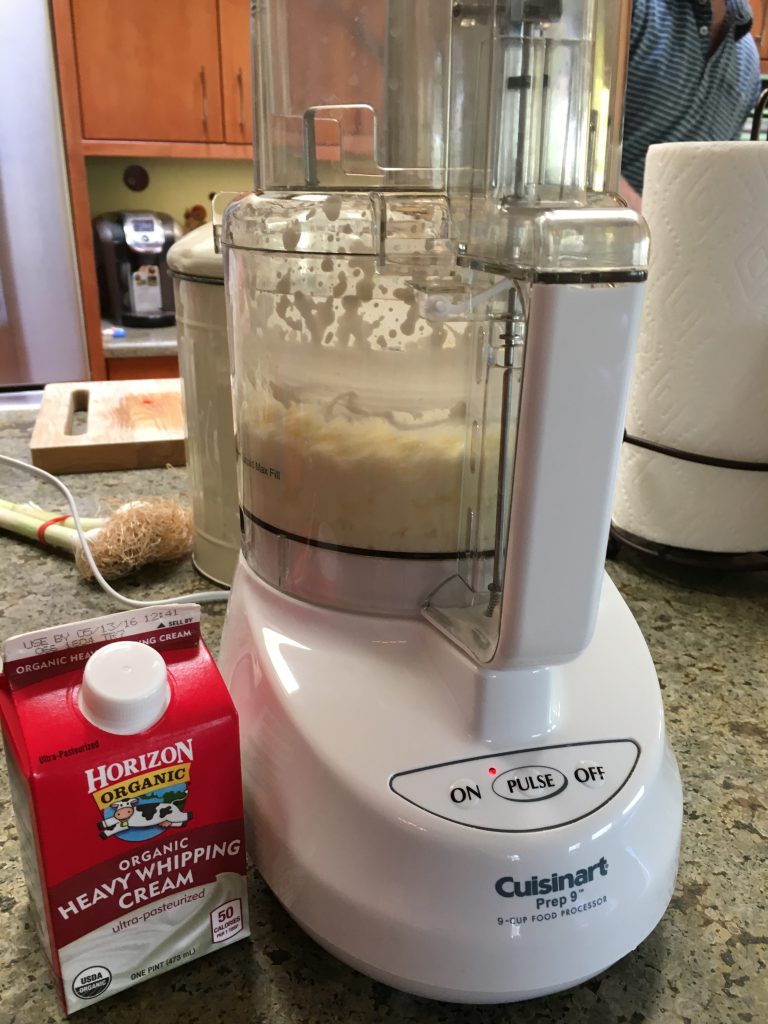
Making butter the easy way!
You’ll see your cream go from liquid to fluffy whipped cream. (I was tempted to stop there to satisfy my desert cravings, but alas, I forged on.) Then it will start to break up and you’ll start to see solid pieces form. Keep going! In about 10 minutes (from start to finish), you’ll have a blob of creamy, homemade butter!
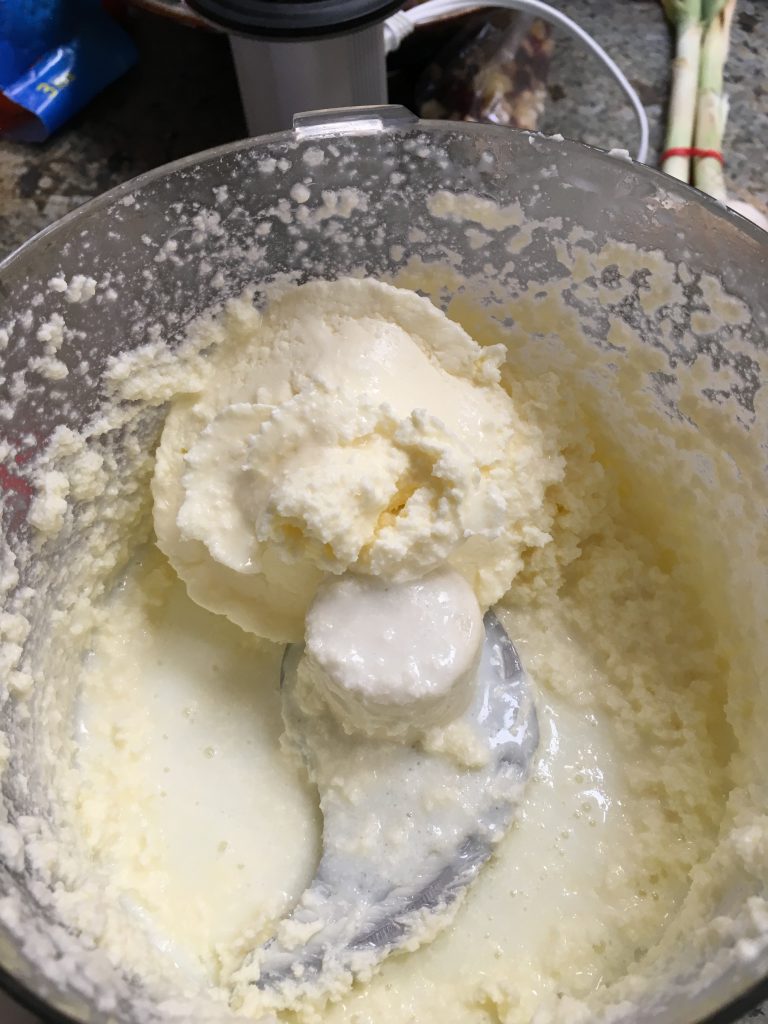
Here’s your blob of butter – the solids separate from the buttermilk
Just a few more steps!
Once your blob has formed, carefully drain the butter in a fine mesh strainer over a bowl. The bowl is important because you want to capture all the rich, delectable liquid that separated from the butter. What is this treasure? Buttermilk!
So drain the butter over a bowl, capture all the buttermilk, and set that aside for making delicious baked goods (think bread or waffles or pancakes).
Once you’ve drained the butter, return it to the food processor with a cup of cold water. Whir the processor to “rinse” the butter. Drain again – this time you can just drain over the sink since the buttermilk has already been captured. Repeat this process until the water remains clear. Mine took 3 rinses.
After you’re done rinsing, turn the butter into a bowl and add a little salt. Since you’re using fresh cream, adding the salt will help preserve your perishable butter so it keeps longer in the fridge. Stir to blend the salt completely through the butter, drain off any remaining liquid and you’re done!
You can also add herbs or honey to flavor your butter at this point, but I kept it simple. Pop the butter in the fridge to set up. Take it out before serving to let it soften up a little. This will ensure it’s nice and spreadable.
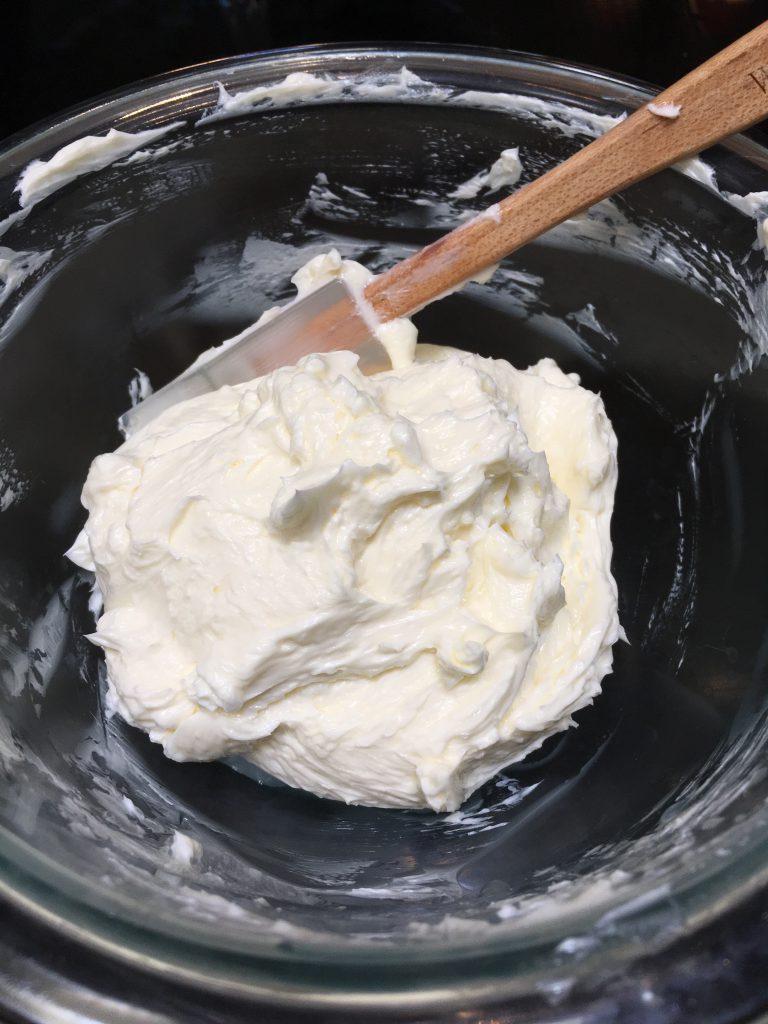
A beautiful bowl of homemade butter
It’s creamy, rich, tasty, and oh so simple to make!
I whipped up a loaf of super simple Irish Soda Bread to serve alongside my homemade butter. If you’ve never made bread, this one is easy enough for anyone to make. There’s no rising time and hardly any kneading, and I was able to use the buttermilk I saved from the first strain. It’s rustic and homey with a nice crust and soft middle, and from beginning to end, it only takes 30 minutes to make. Here’s the recipe if you want to try a loaf!
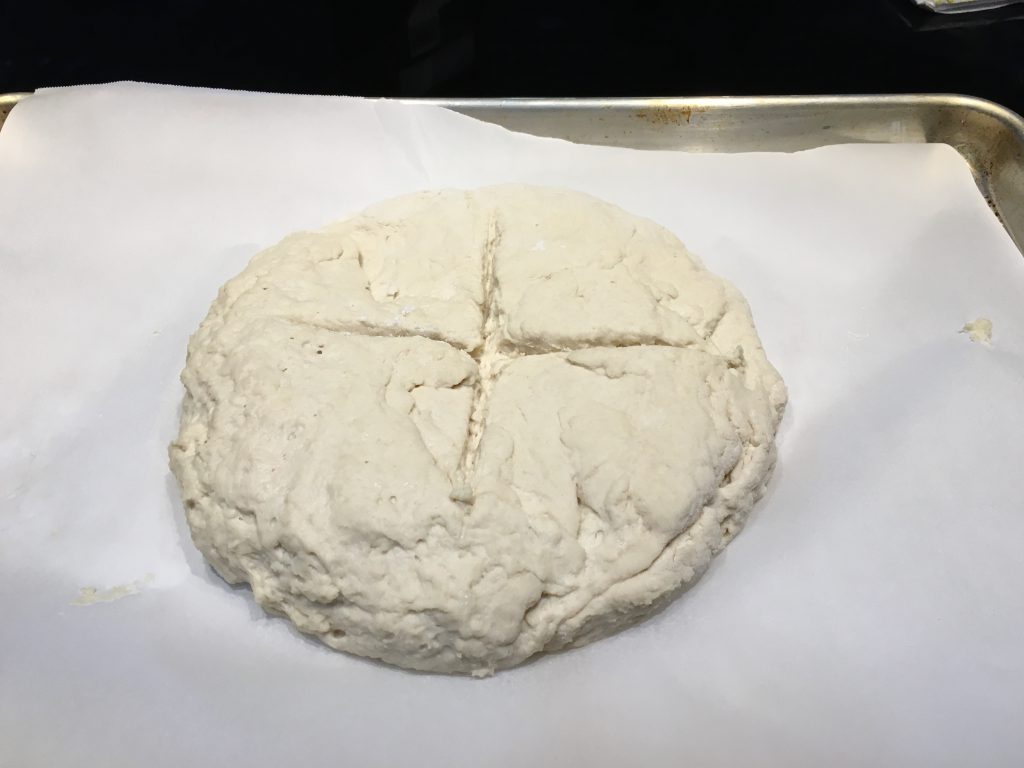
Rustic Soda Bread (before & after) – the perfect accompaniment to homemade butter!
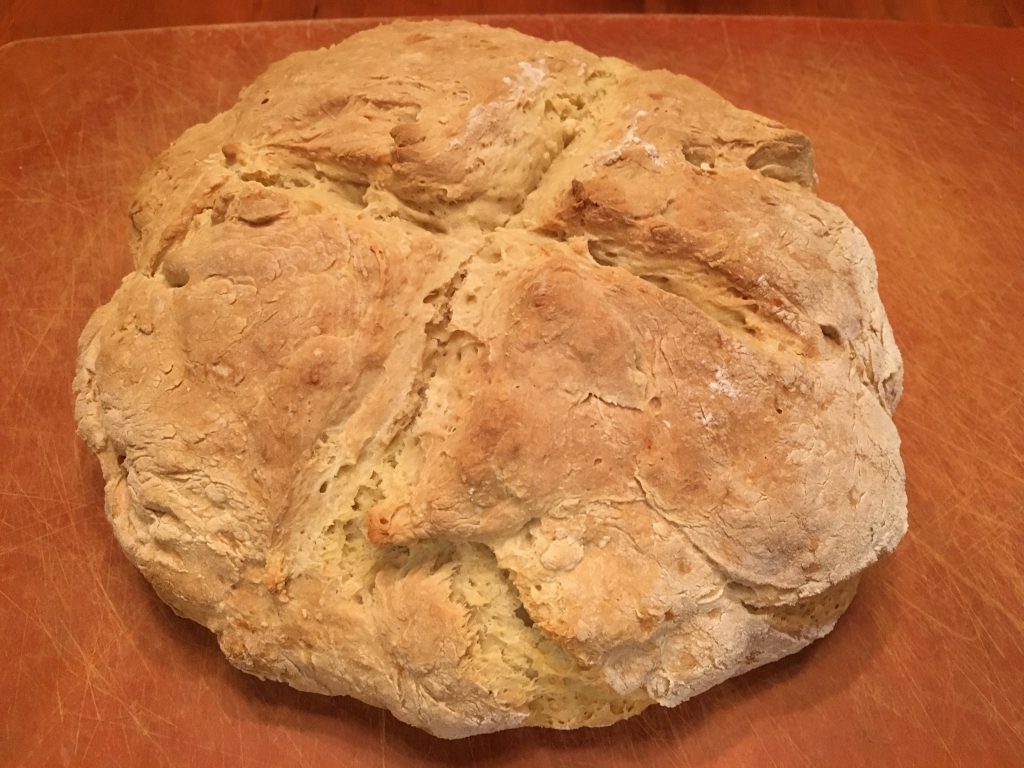
Trust me when I tell you that this is easy enough for a weekday, but fancy enough for a special occasion. What could be better than that?
You know you want to try making your own homemade butter now, don’t you? Go ahead & give it a try. Then come back & tell me how it went – I’d love to hear from you!
