A Father’s Day Gift He’ll Love (You Will, too!)
Father’s Day is June 19 (I looked it up!)
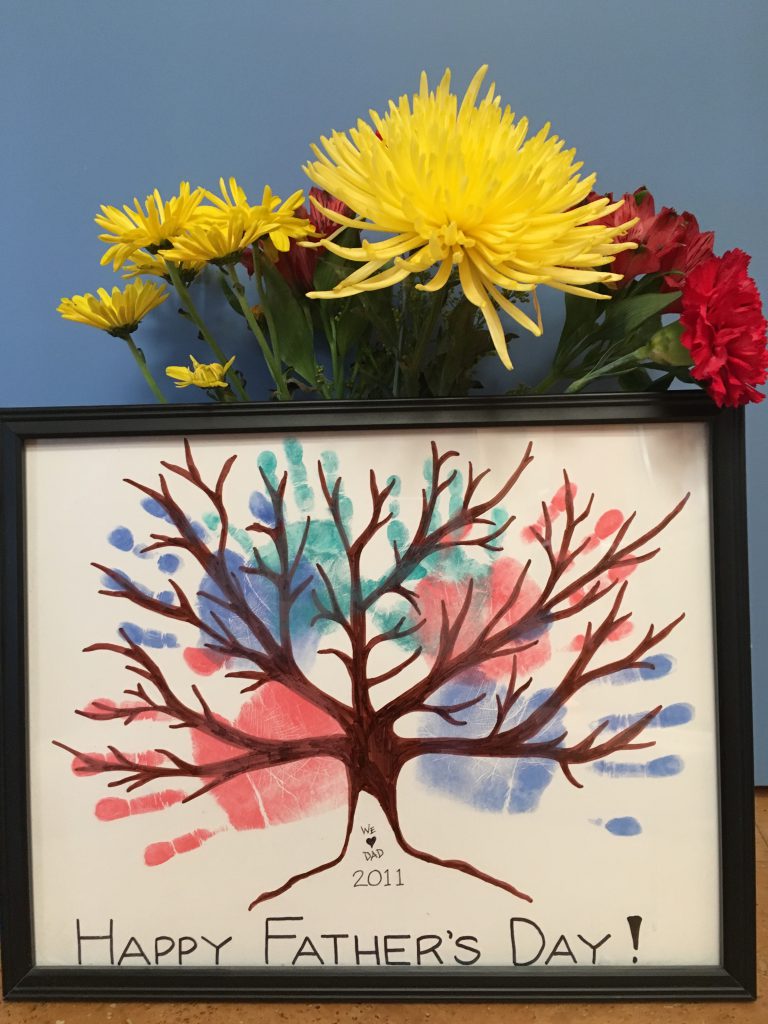
June has arrived, which means Father’s Day is just around the corner. If your guy is anything like my husband, he’s got pretty much everything he needs, so what can you give him that he’ll love and won’t break the bank? This fabulous family tree!
Father’s Day DIY Made Easy
Sometimes making a gift can feel like a daunting task, but with a little bit of planning and some help from the kids, you can create a personalized keepsake that any dad will love. Actually, I love this one so much that I would have made it for myself if it hadn’t been Father’s Day!
I can’t remember where I saw this idea first (it was before I really got familiar with Pinterest), but I loved the idea so I got to work making it happen.
First, I gathered some supplies:
- White poster board, 11 x 17 (I bought a big one and cut it to size)
- A simple frame to fit
- Ink pads in various colors (I bought a set and have used them for multiple other crafts since then. If you have some already, just use these!)
- Pencil, a good eraser and a brown permanent marker (all things I had on hand)
Next, I sketched out the tree in pencil on the poster board.
This took a while because I was being picky about how the branches looked, but you can make it however you like. I just saw a simple version of this on Naptime Decorator, and it looks super cute and easier than the one I drew.
Once I had the sketch the way I liked it, I colored it in with a brown permanent marker. I love the way the marker made the branches and tree trunk look like real wood. I chose to leave a little space in the trunk to add a “carving” like carving our message in a real tree, but you could certainly make it a solid trunk.
I also hand-lettered Happy Father’s Day at the bottom, but you could leave that off or include a different message or put a cool saying on your finished product. I love the saying Liz at Naptime Decorator (see above link) used! My hand lettering was super simple, but if you want to make it look more “designed,” take a look at this hand lettering tutorial from Morgan Manages Mommyhood. It’s a great primer on how to create great-looking text!
Personal and Meaningful Father’s Day
Once I had my part done, I grabbed the kids and had them do their part. I used the stamp pads to put color on their hands – make sure there’s plenty of color on them – then placed their handprints on the tree. Our oldest got the lowest branches, then I worked up to our little one at the top. They were 10, 7 and 2 at the time, so their hands fit perfectly on this size tree. If you have fewer/more kids or they’re bigger or smaller, just use your judgment on how you want it to look. For an only child, you could include your handprints, or use their hands and intersperse the design with little fingerprint leaves.
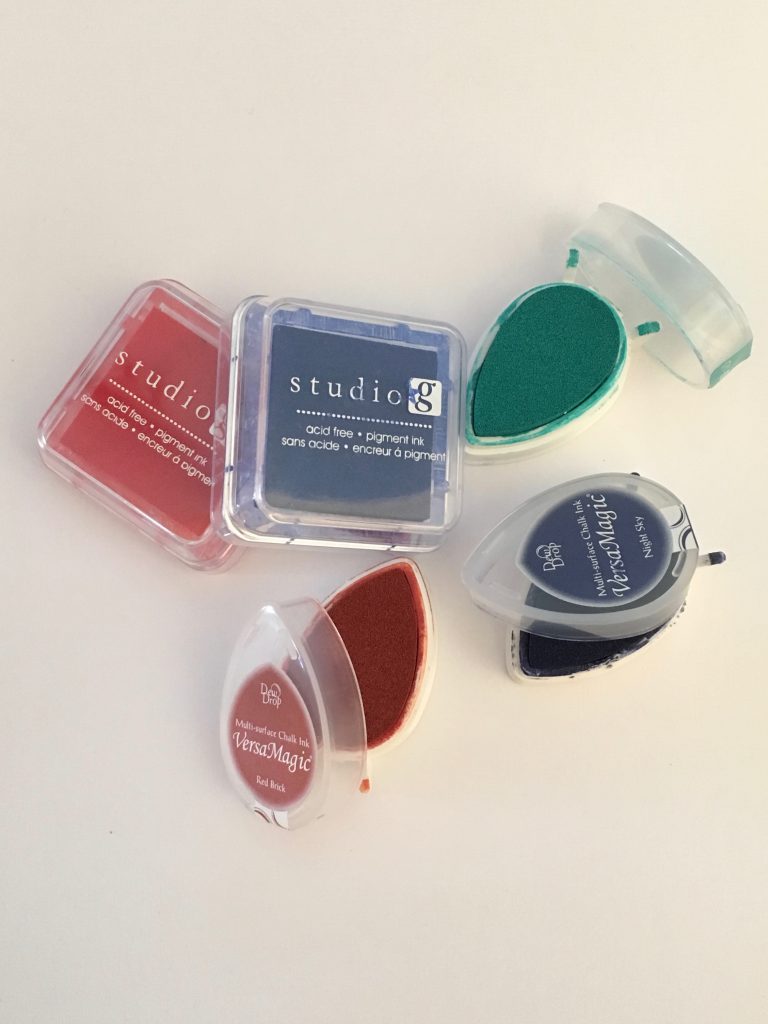
Ink Pads for your Father’s Day Masterpiece
The great part is that the stamp pads dry really quickly, so you can even do this at the last minute. Once it’s dry, just pop it in the frame and wrap it up! My husband was so pleased when he opened it and realized what it was, and he hung it up right away.
This is one of my favorite DIY gifts I’ve ever made. Even though it cost less than $10 to make, it holds a special place in all of our hearts that no expensive, store bought gift could match. The kids like to hold their hands up to it to see how much they’ve grown over the years, and it serves as a happy memory of when they were little.
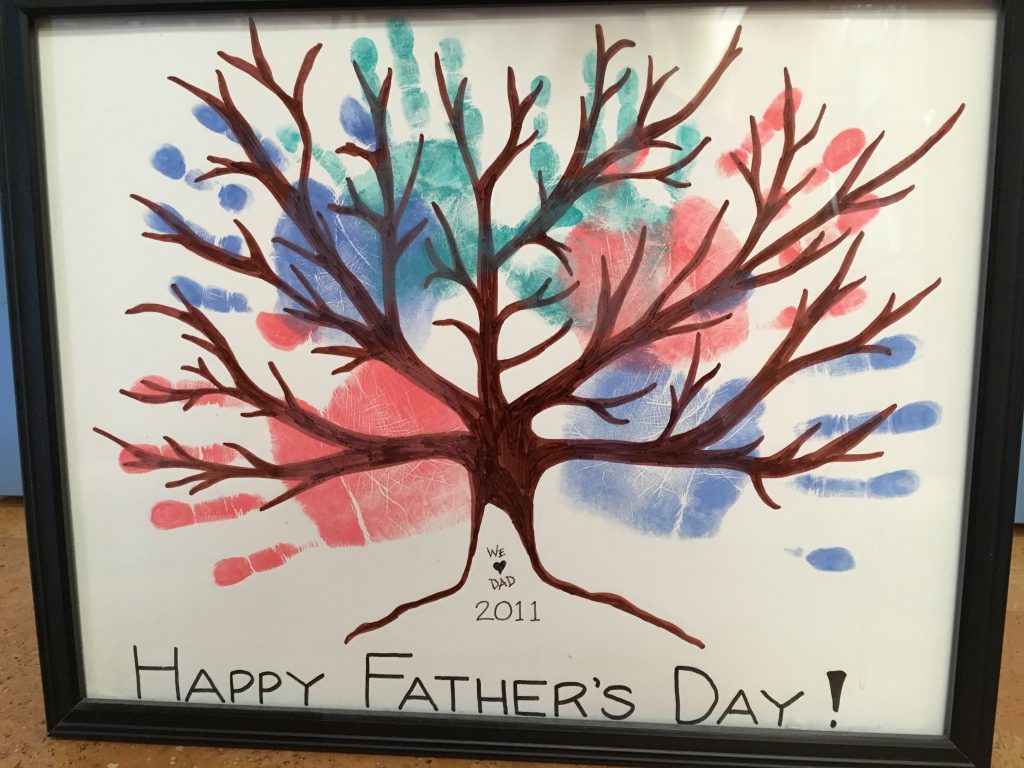
The finished product
Stay tuned for another fabulous and easy Father’s Day project coming soon! In the meantime, what do you think of this family tree? Will you make one? Let me know if you have any questions!
Read More
